


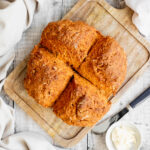
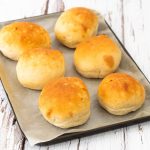
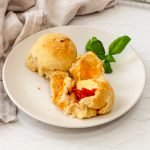
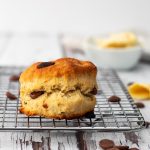
Don't be afraid to make your own bread! These basic bread rolls inspired by a class at the Jamie Oliver Cookery School are so satisfying to make! And tasty too.

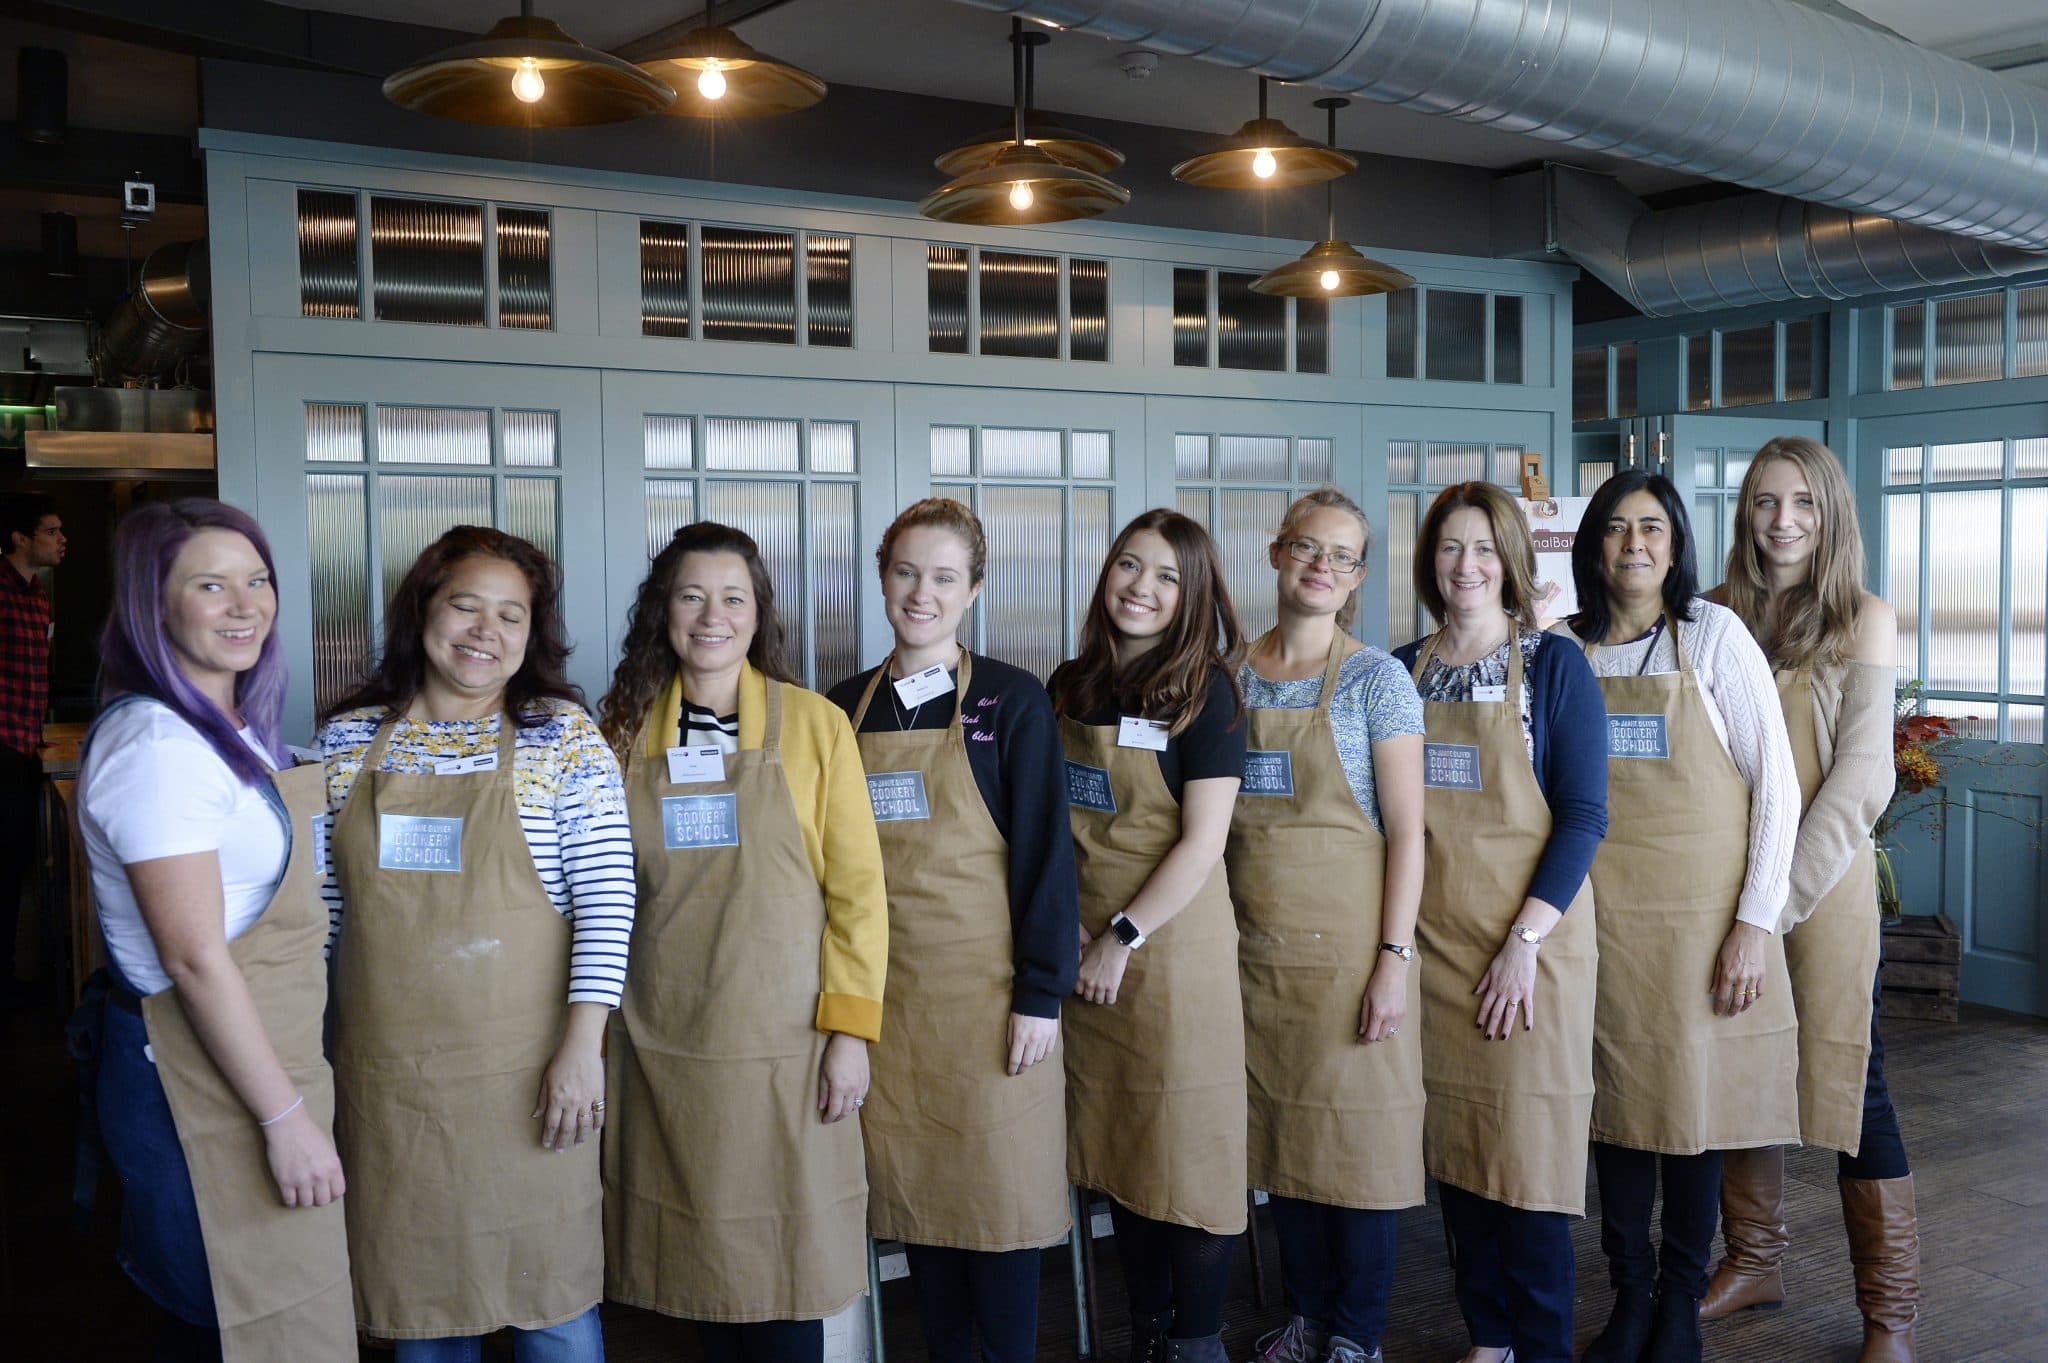
Just over a week ago I attended a Bread Baking: Knead to Know cookery class at the Jamie Oliver Cookery School in London sponsored by Currys and Hotpoint. There really is nothing better than the smell of freshly baked bread and I could not help but leave the class inspired to bake more bread at home.
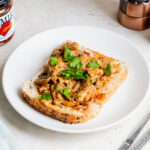
Not to mention very satisfied after a gorgeous lunch of my own freshly baked bread, pumpkin soup and cheese fondant. You can find the recipe for the bread rolls further down this post.
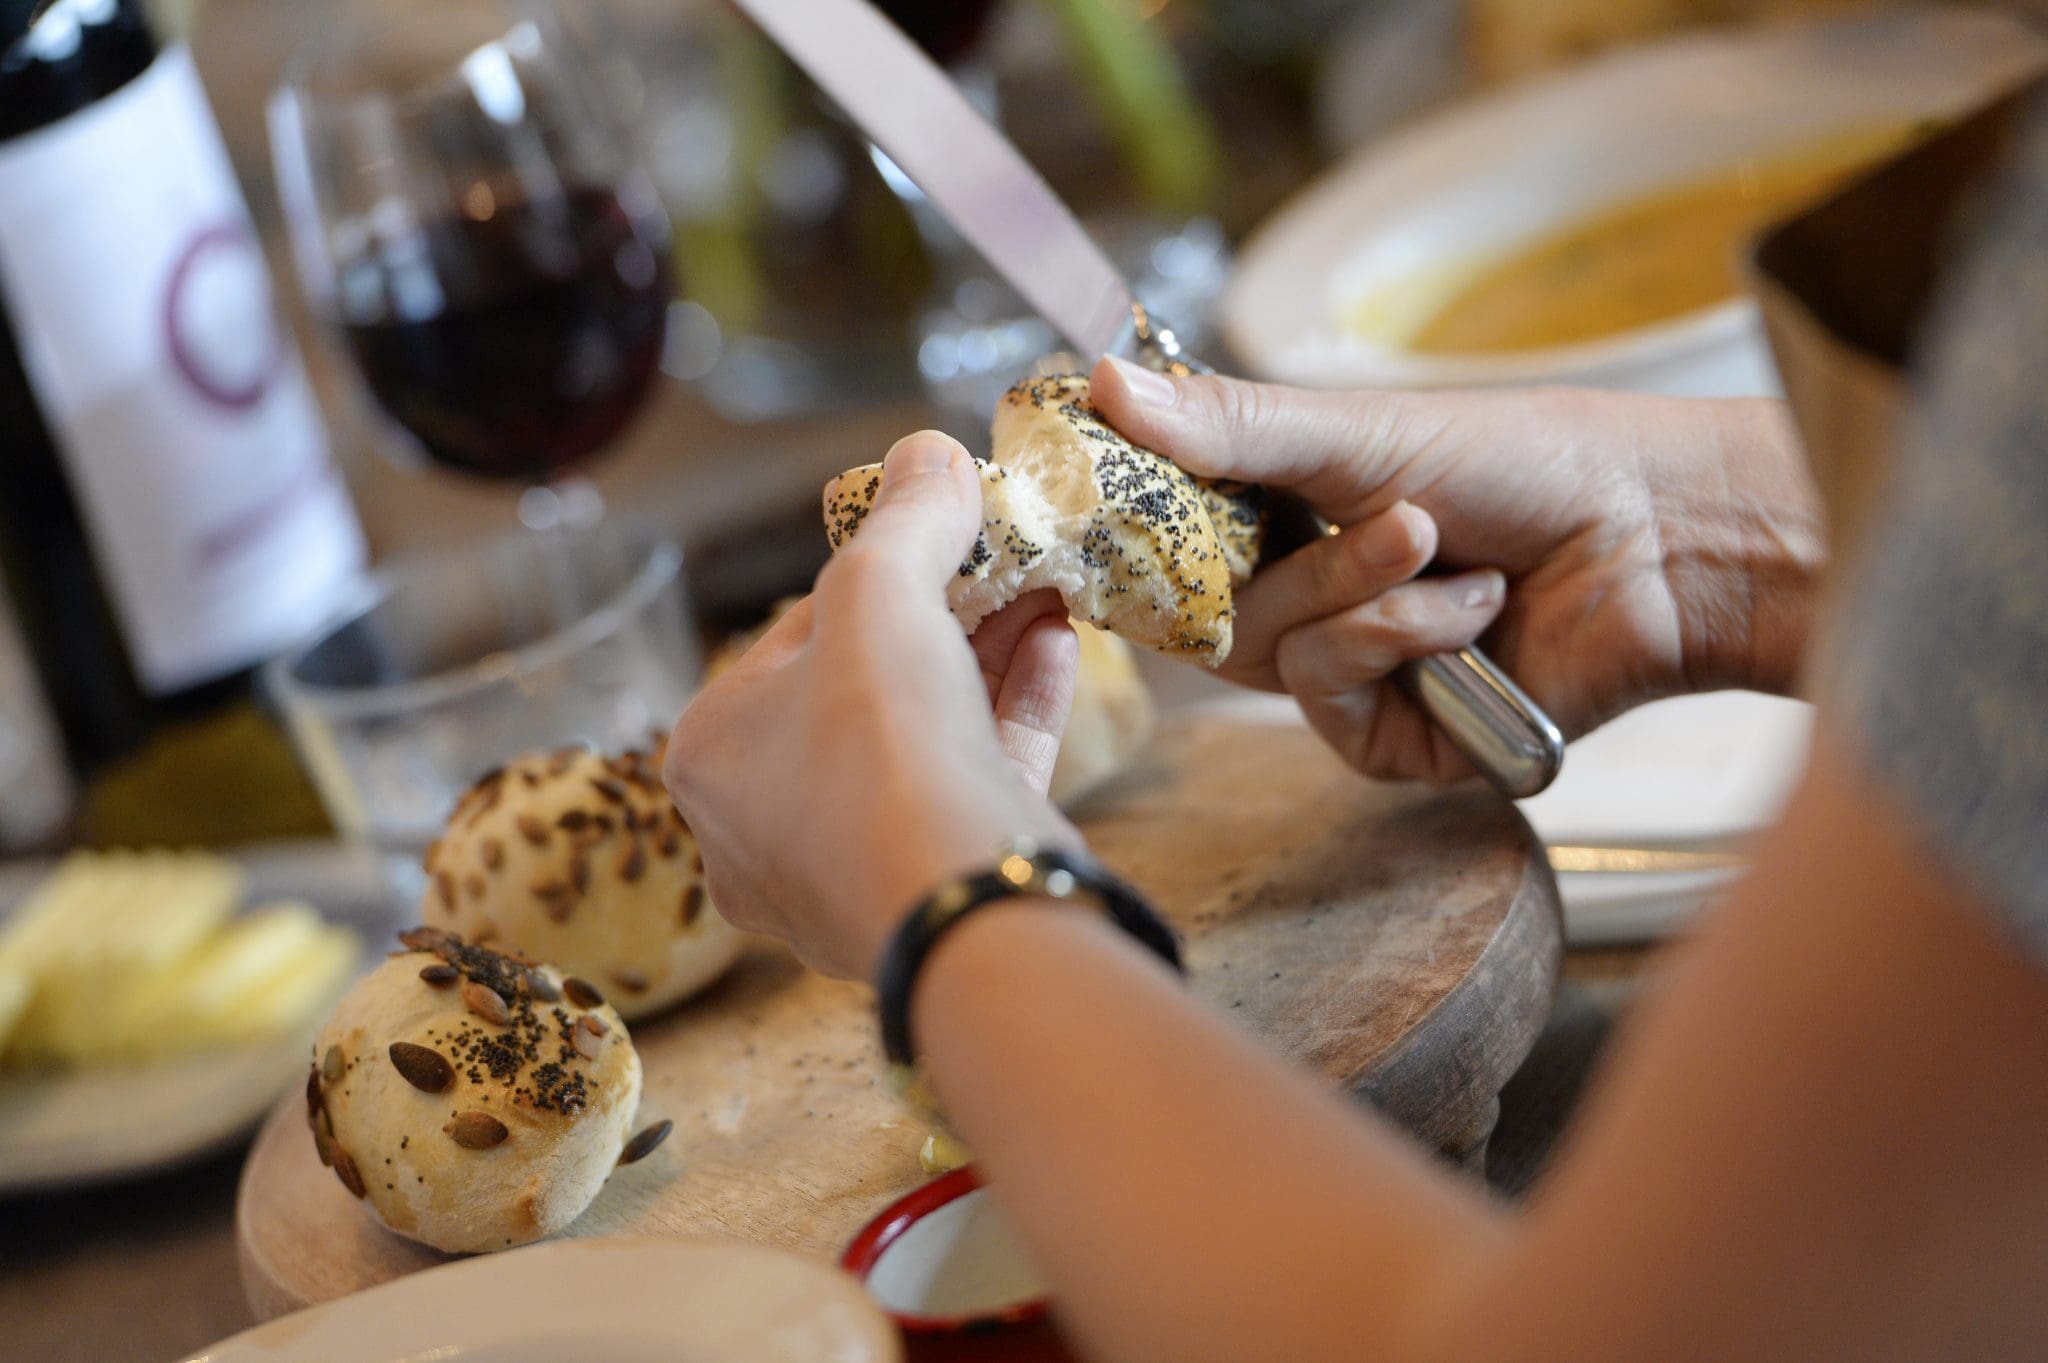
Here I am about to taste my homemade bread rolls!
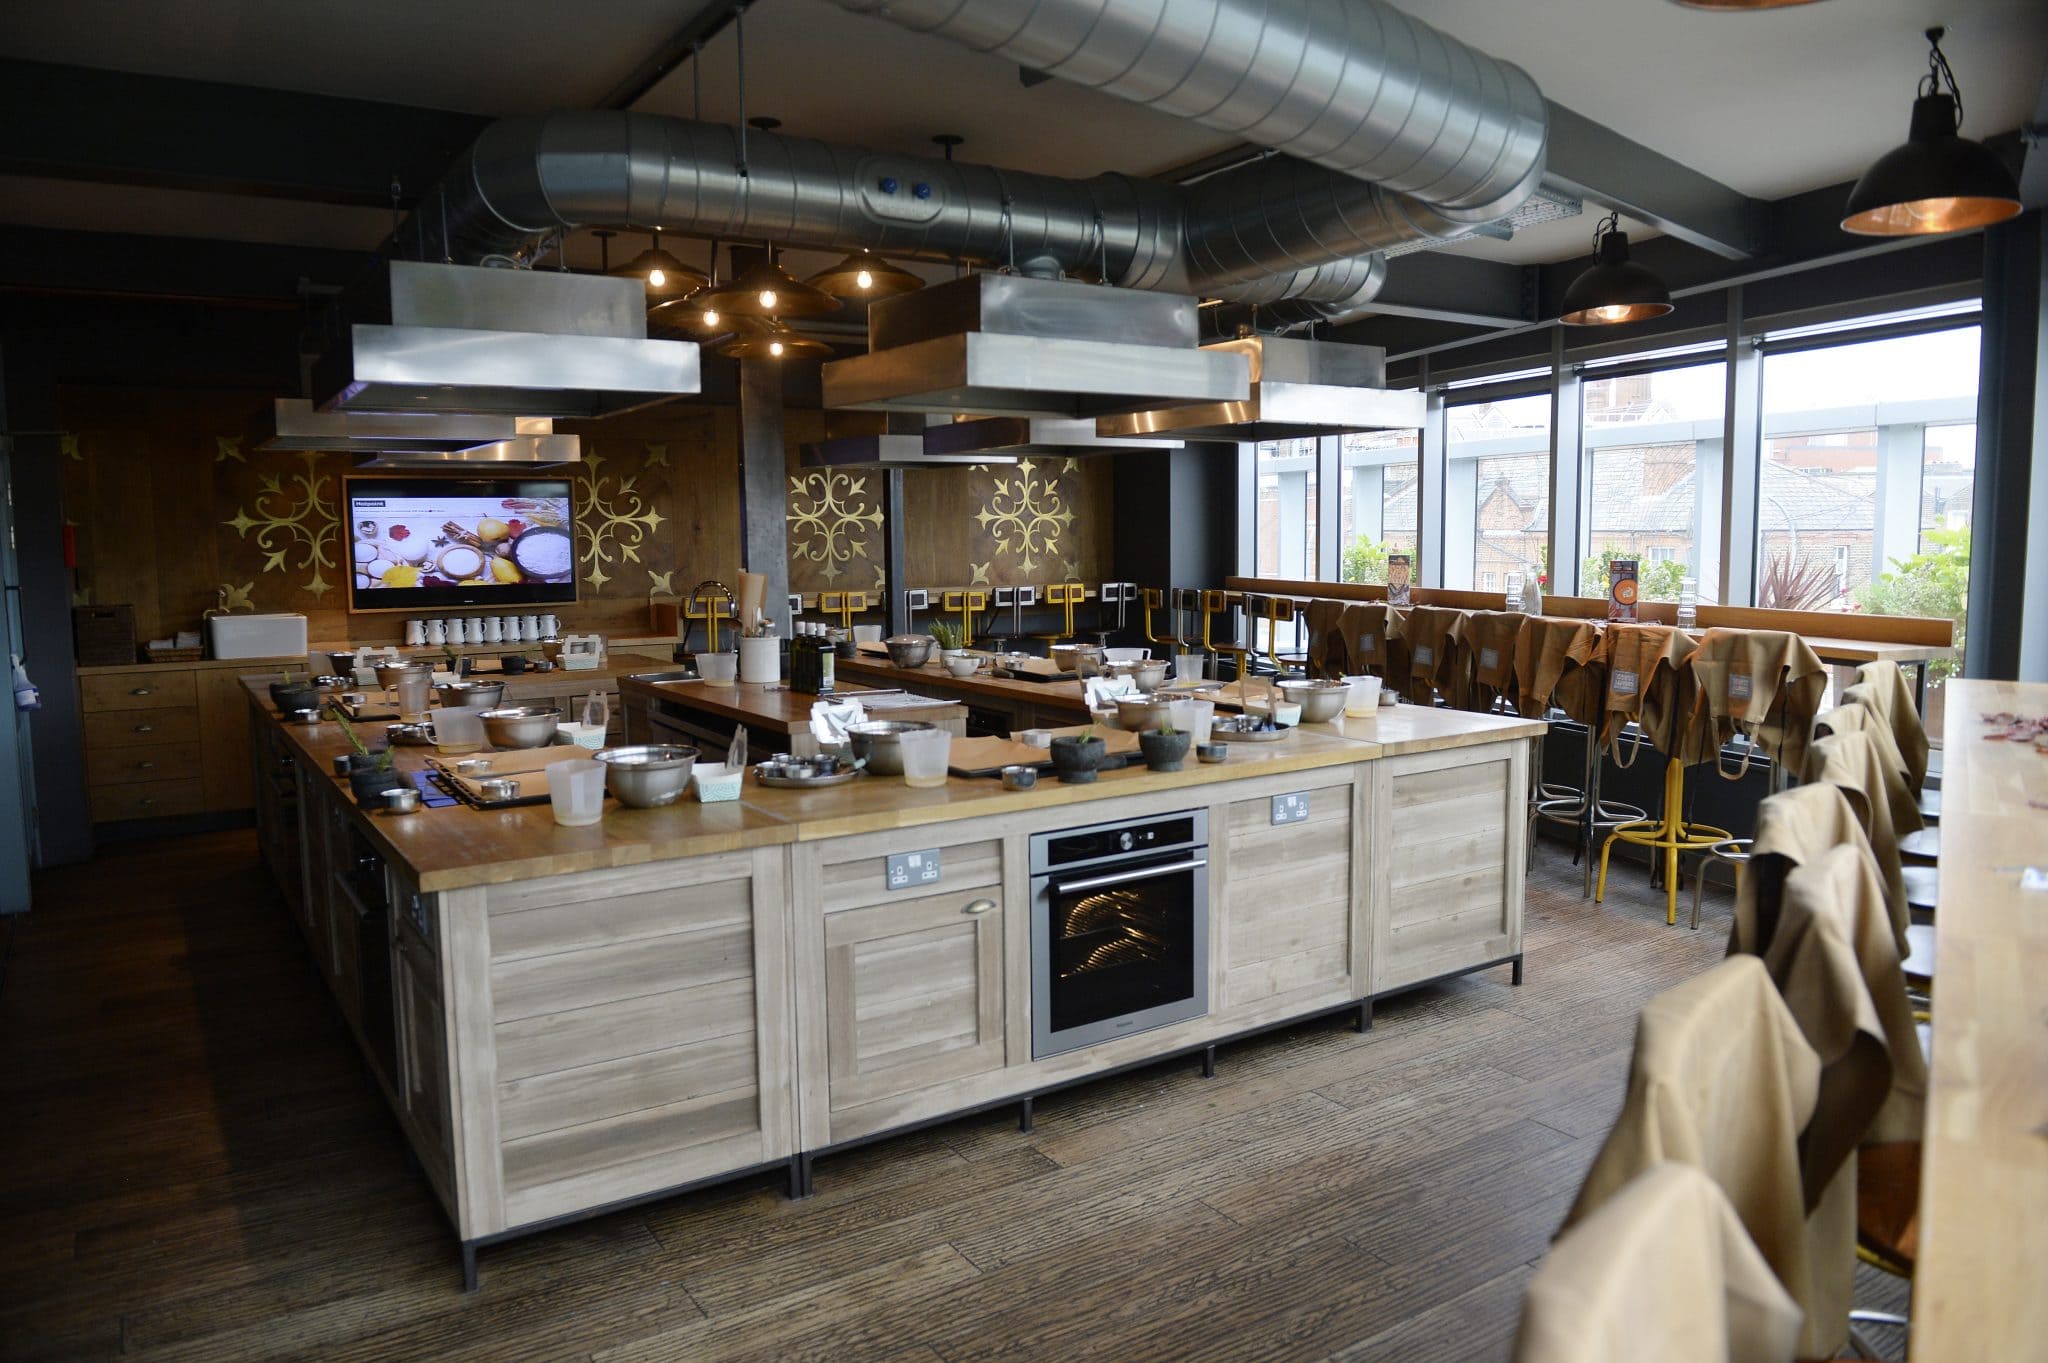
Where was the Jamie Oliver Cookery School?
Sadly the Jamie Oliver Cookery School has closed since I took this class. It used to be at the back of Jamie's Italian restaurant in the Westfield Shopping Centre.
After meeting the other food and lifestyle bloggers we were taken through to a beautiful airy kitchen where an encouraging and enthusiastic chef demonstrated what we were going to do.
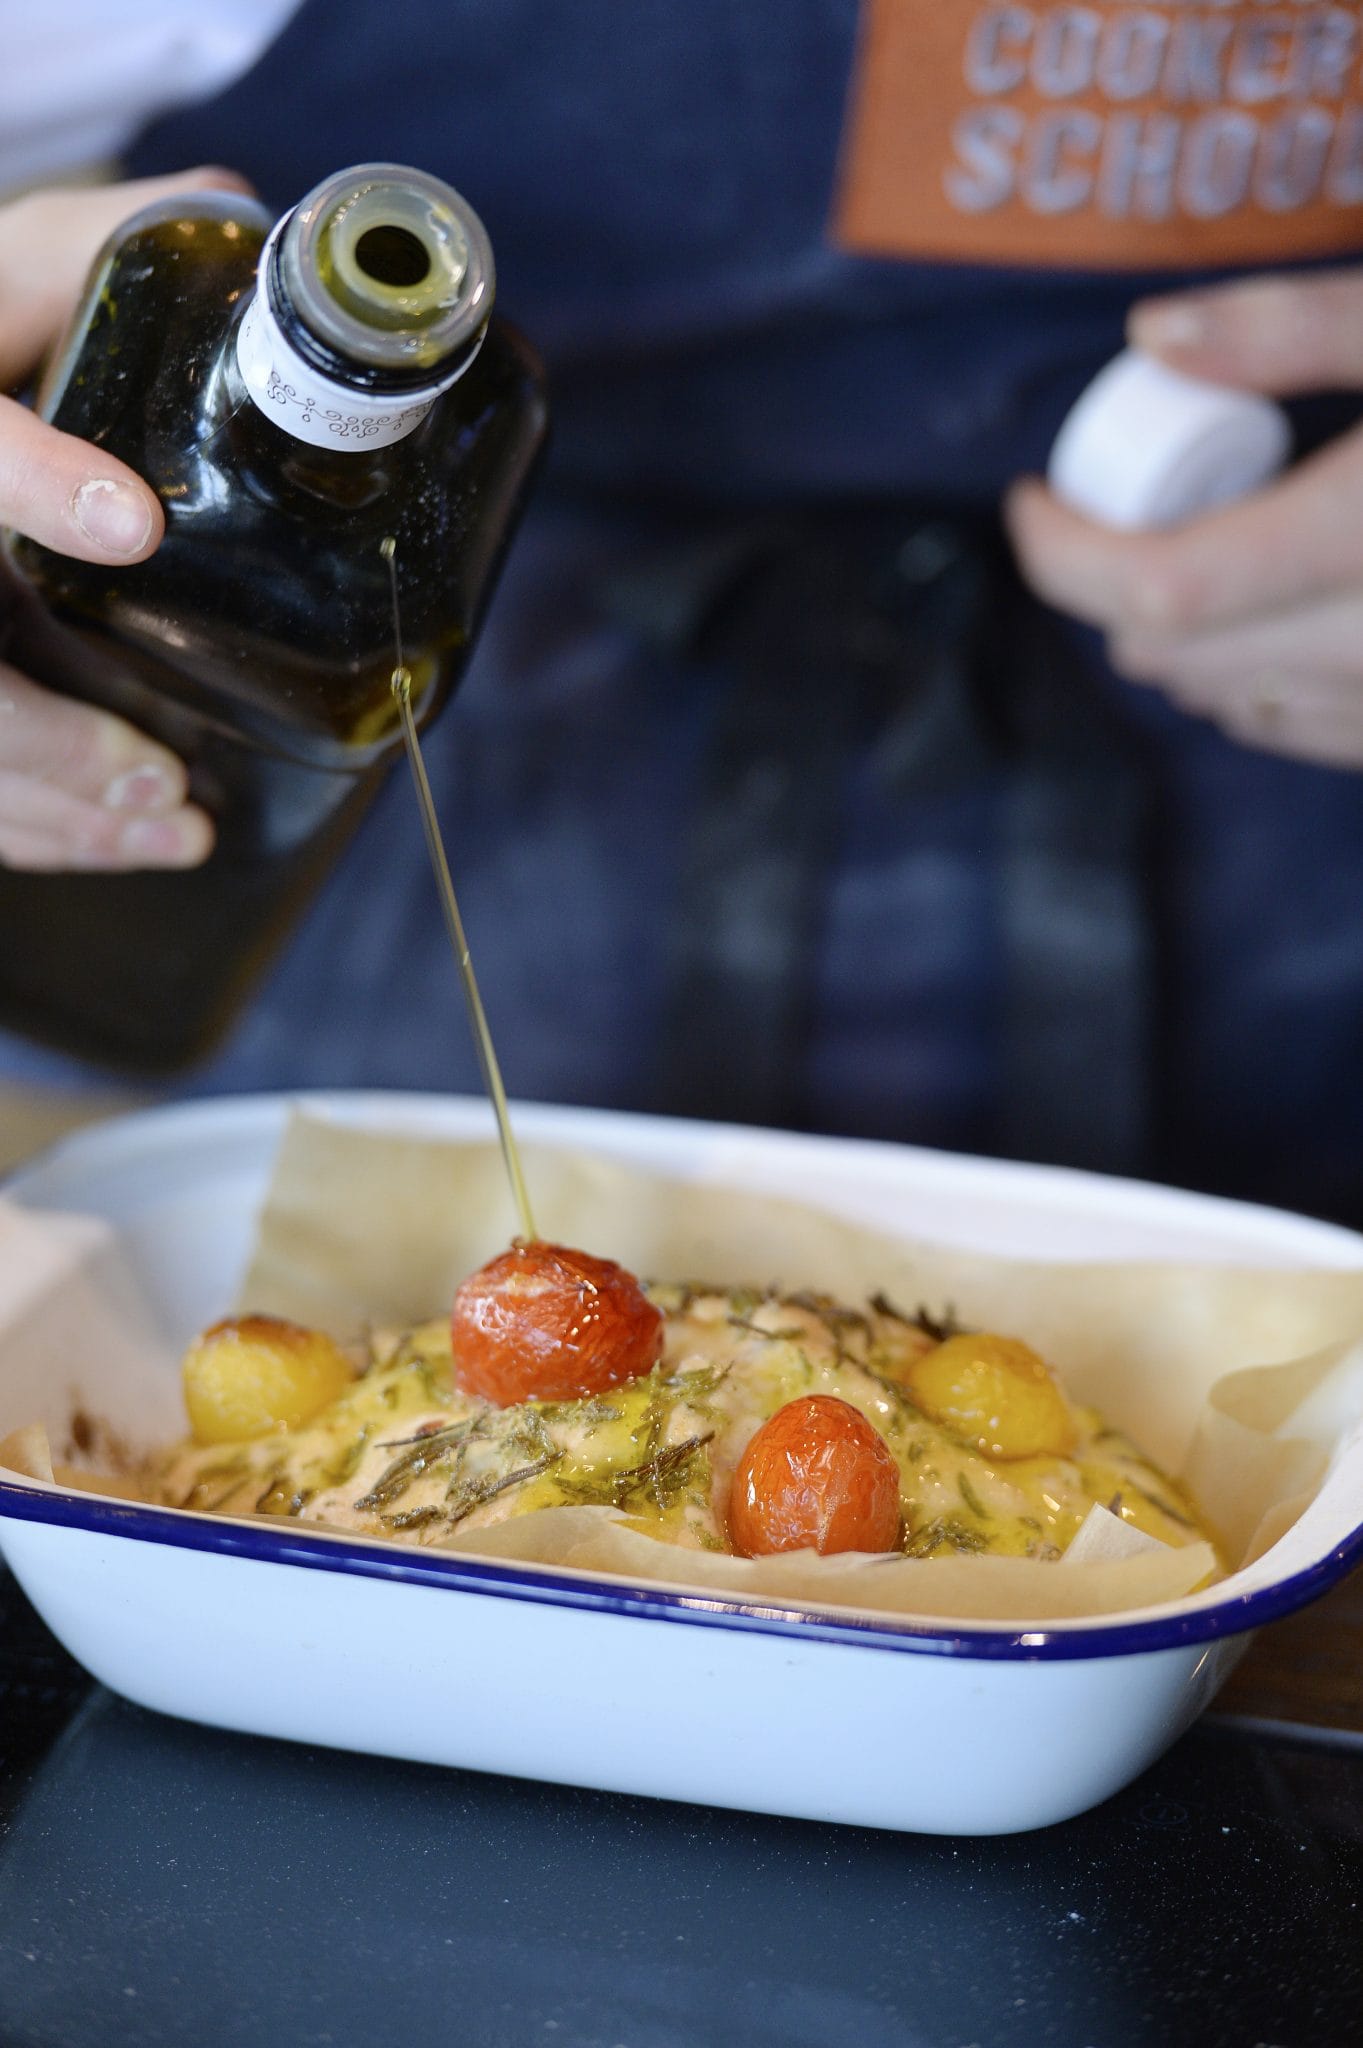
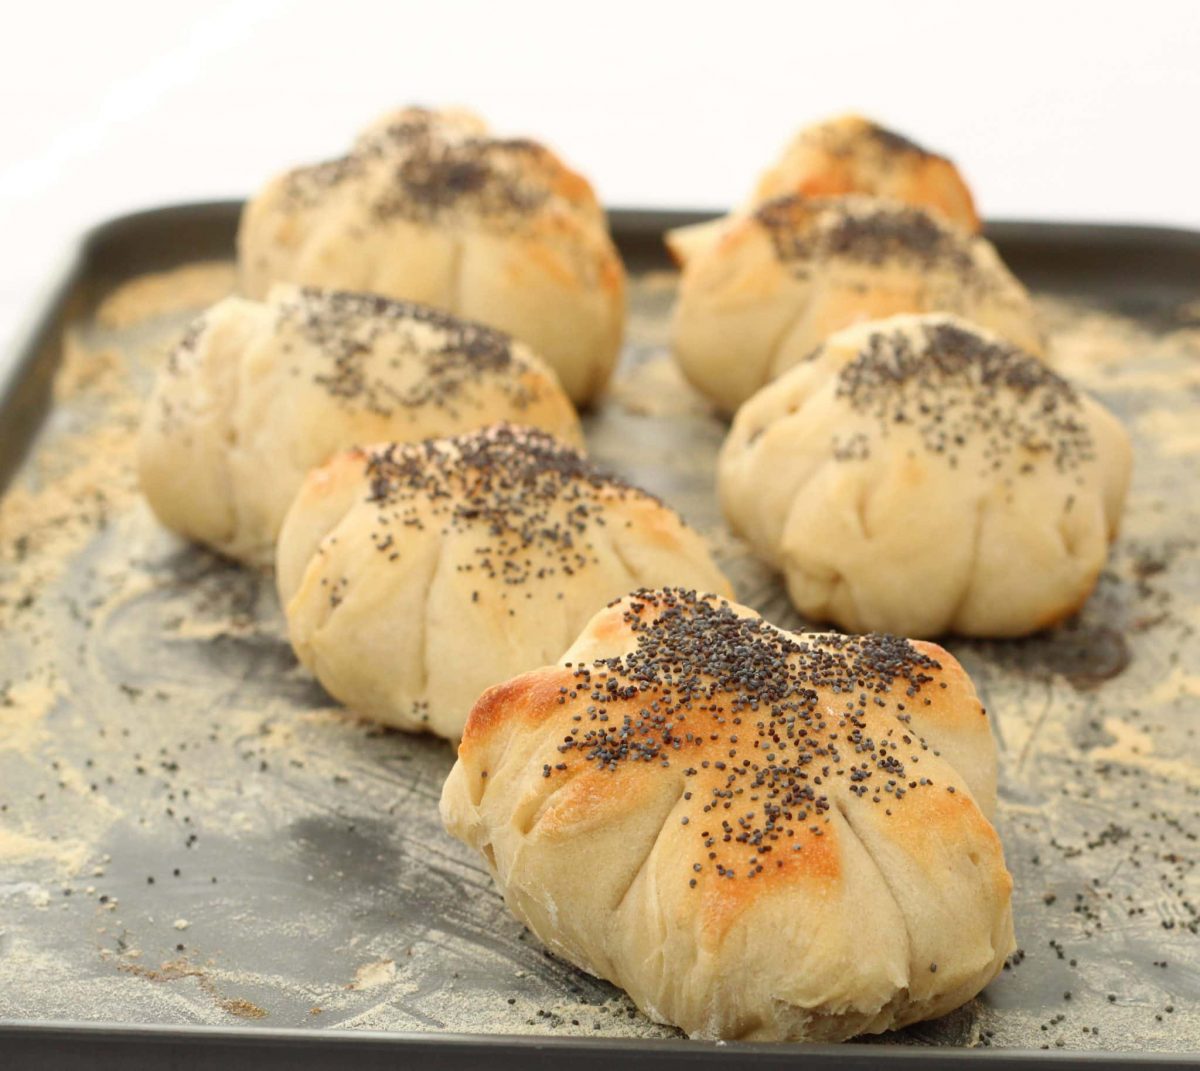
We made our own plain white bread rolls and learned how to shape them before topping them with a choice of seeds. We also made a lovely foccacia with a few whole cherry tomatoes in it and topped it with homemade rosemary salt and of course olive oil.
It tasted amazing! I especially loved the way that the tomatoes had a beautiful sweet juicy caramelised taste to them.
What bread did we make in the class?
In the class we made some basic white bread rolls topped with seeds as well a lovely foccacia loaf with cherry tomatoes and fresh rosemary.
As you can imagine, we couldn’t eat all the bread during the class so we enjoyed some of our homemade rolls with the soup and took rest home. We also took home some of our own dough that we’d prepared so we could bake more bread when we got home.
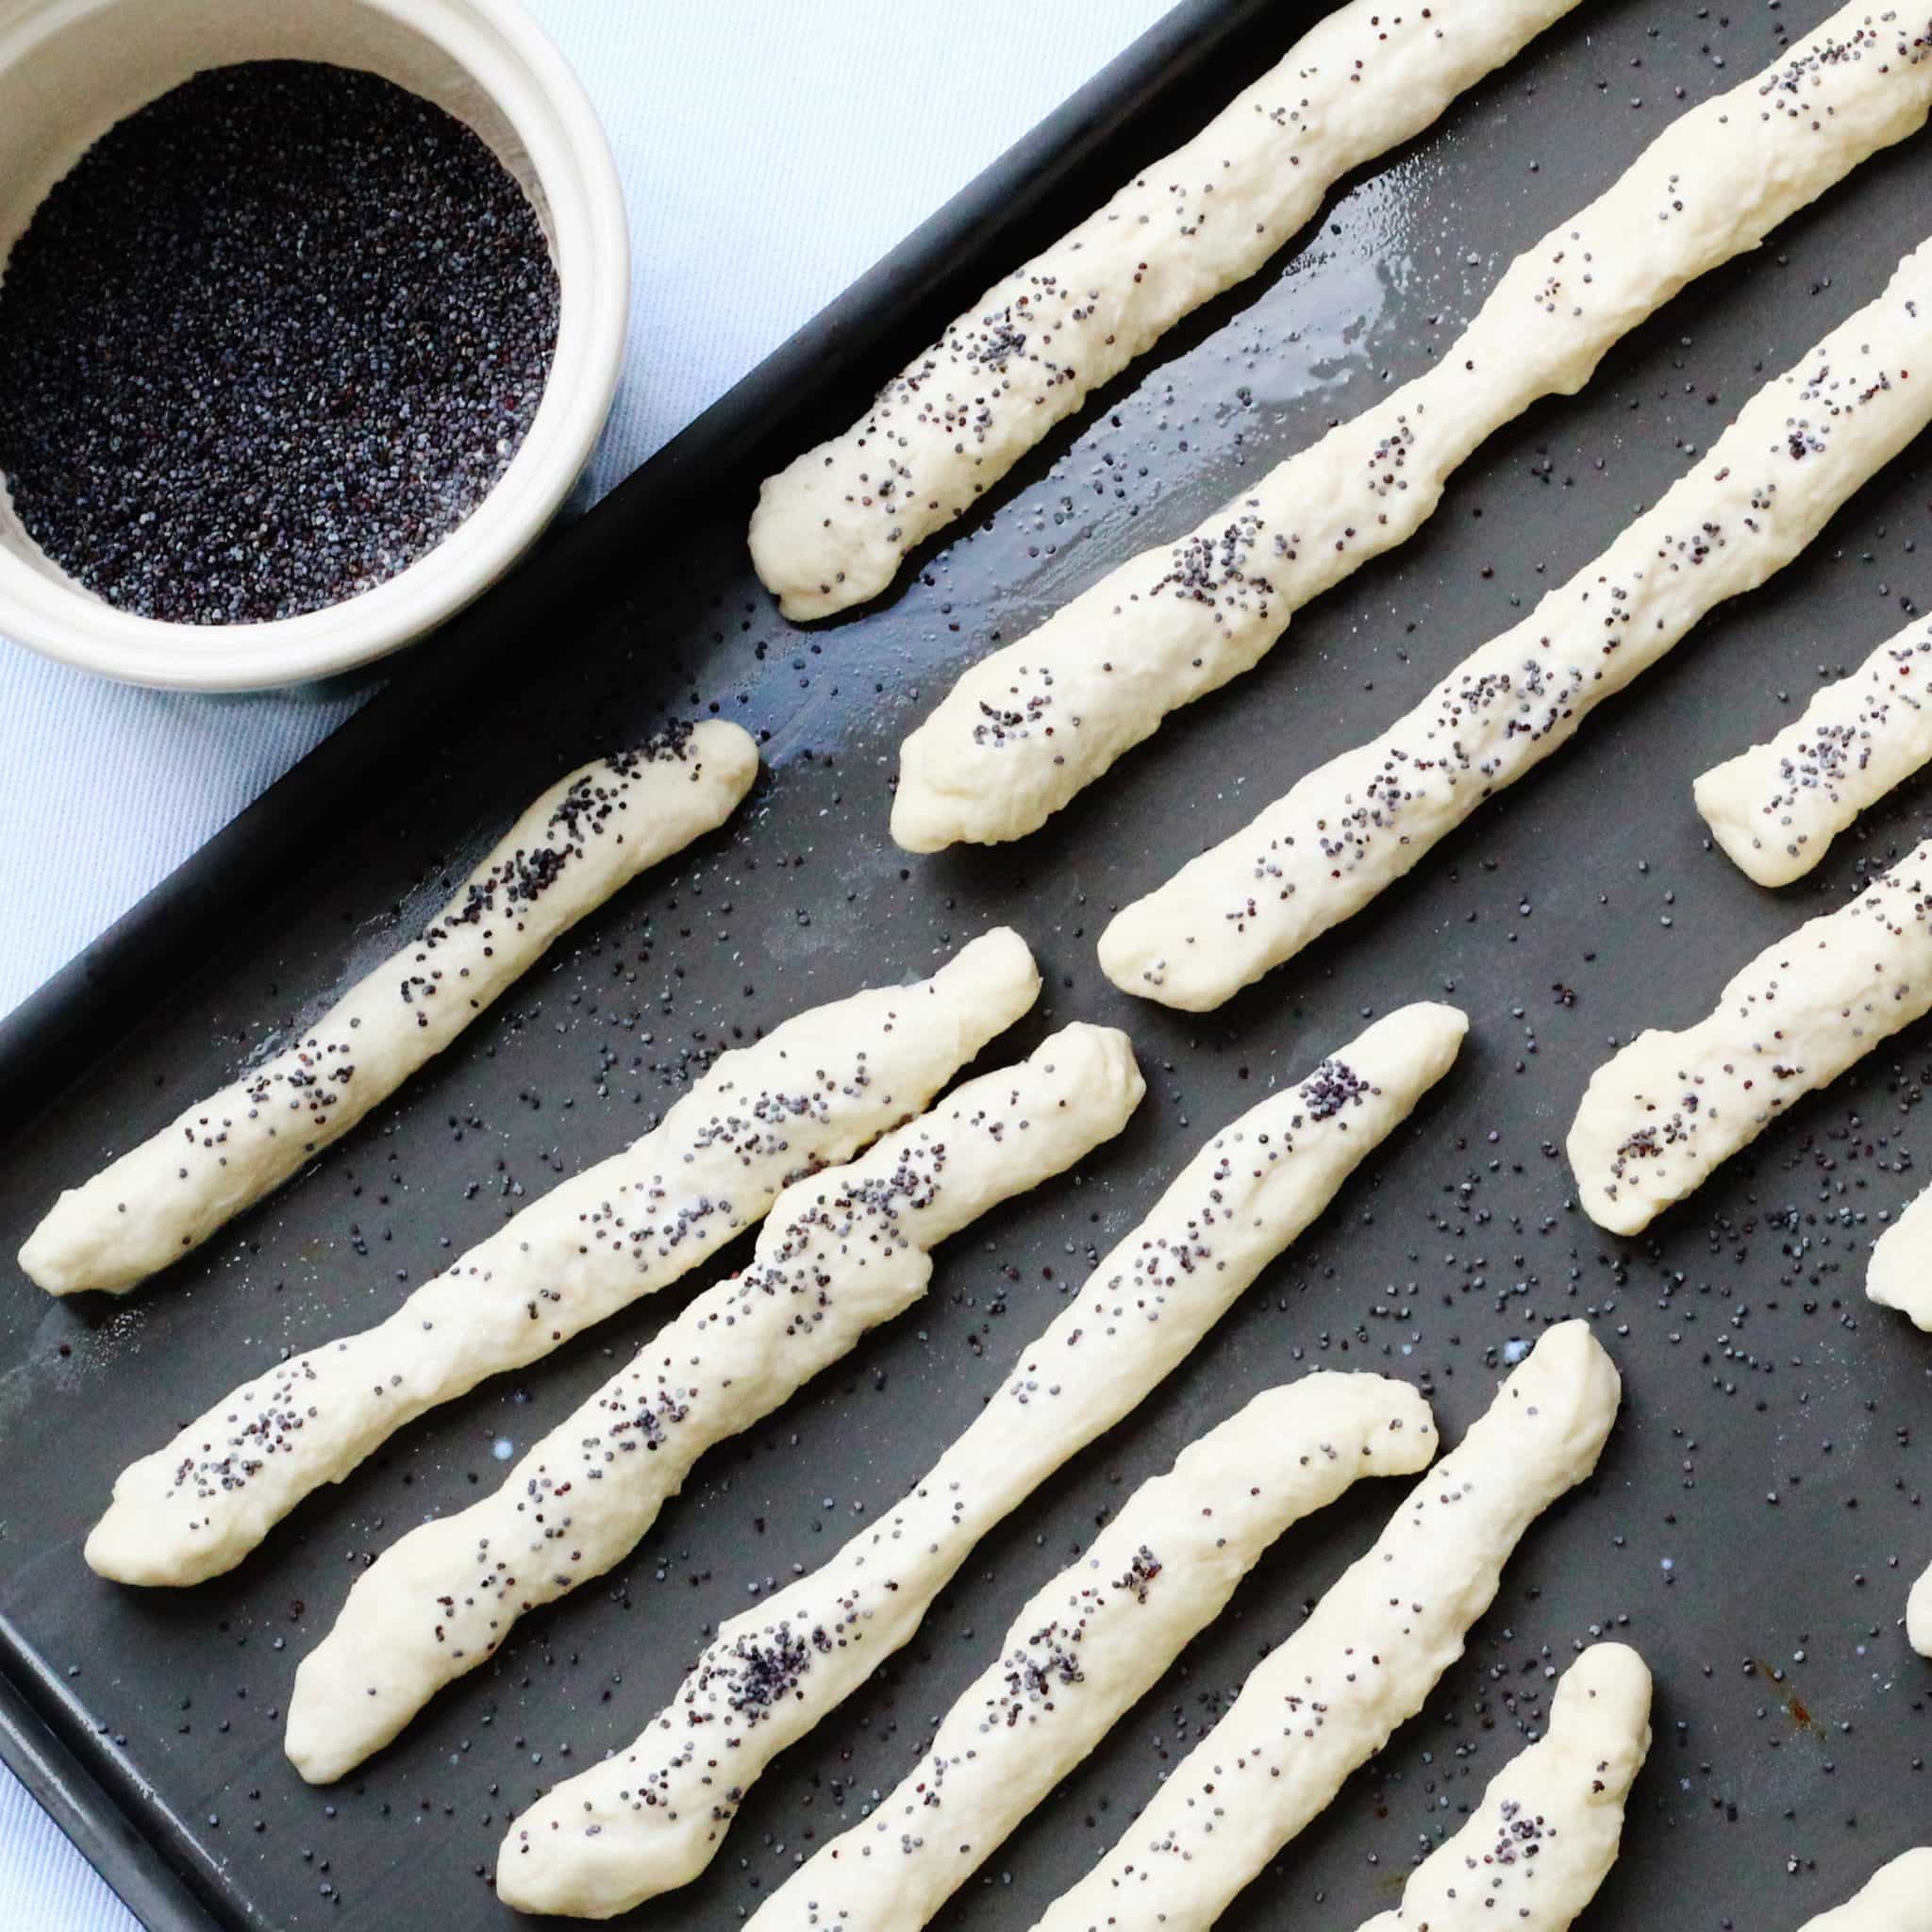
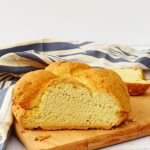
My dough had risen very well but it was looking a bit battered by the time it reached home so I didn’t risk making it into rolls. Instead, I made my first breadsticks. Ta da!
Tips for making your own bread
Making bread can but shouldn't be intimidating and although I have made my own bread before, I don’t make it regularly and I picked up lots of useful information. I’d like to share just a few of these tips with you:
- When mixing the liquid into the flour use a fork as it will be less messy.
- Knead the dough by working it with your hands. You can push away and pull it back but as long as you are keeping it moving and stretching it, it’s fine. It’s almost impossible to overwork it if you’re kneading by hand.
- Add a little flour to the work surface and your hands if it’s too sticky but don’t add too much flour. Too much flour will result in a dry bread.
- There are 3 ways to know when your dough has risen enough. It will be at least doubled in size, it will jiggle like jelly when you wobble the bowl and if you put your hands in with your fingers apart and pull it will look like spider’s webs.
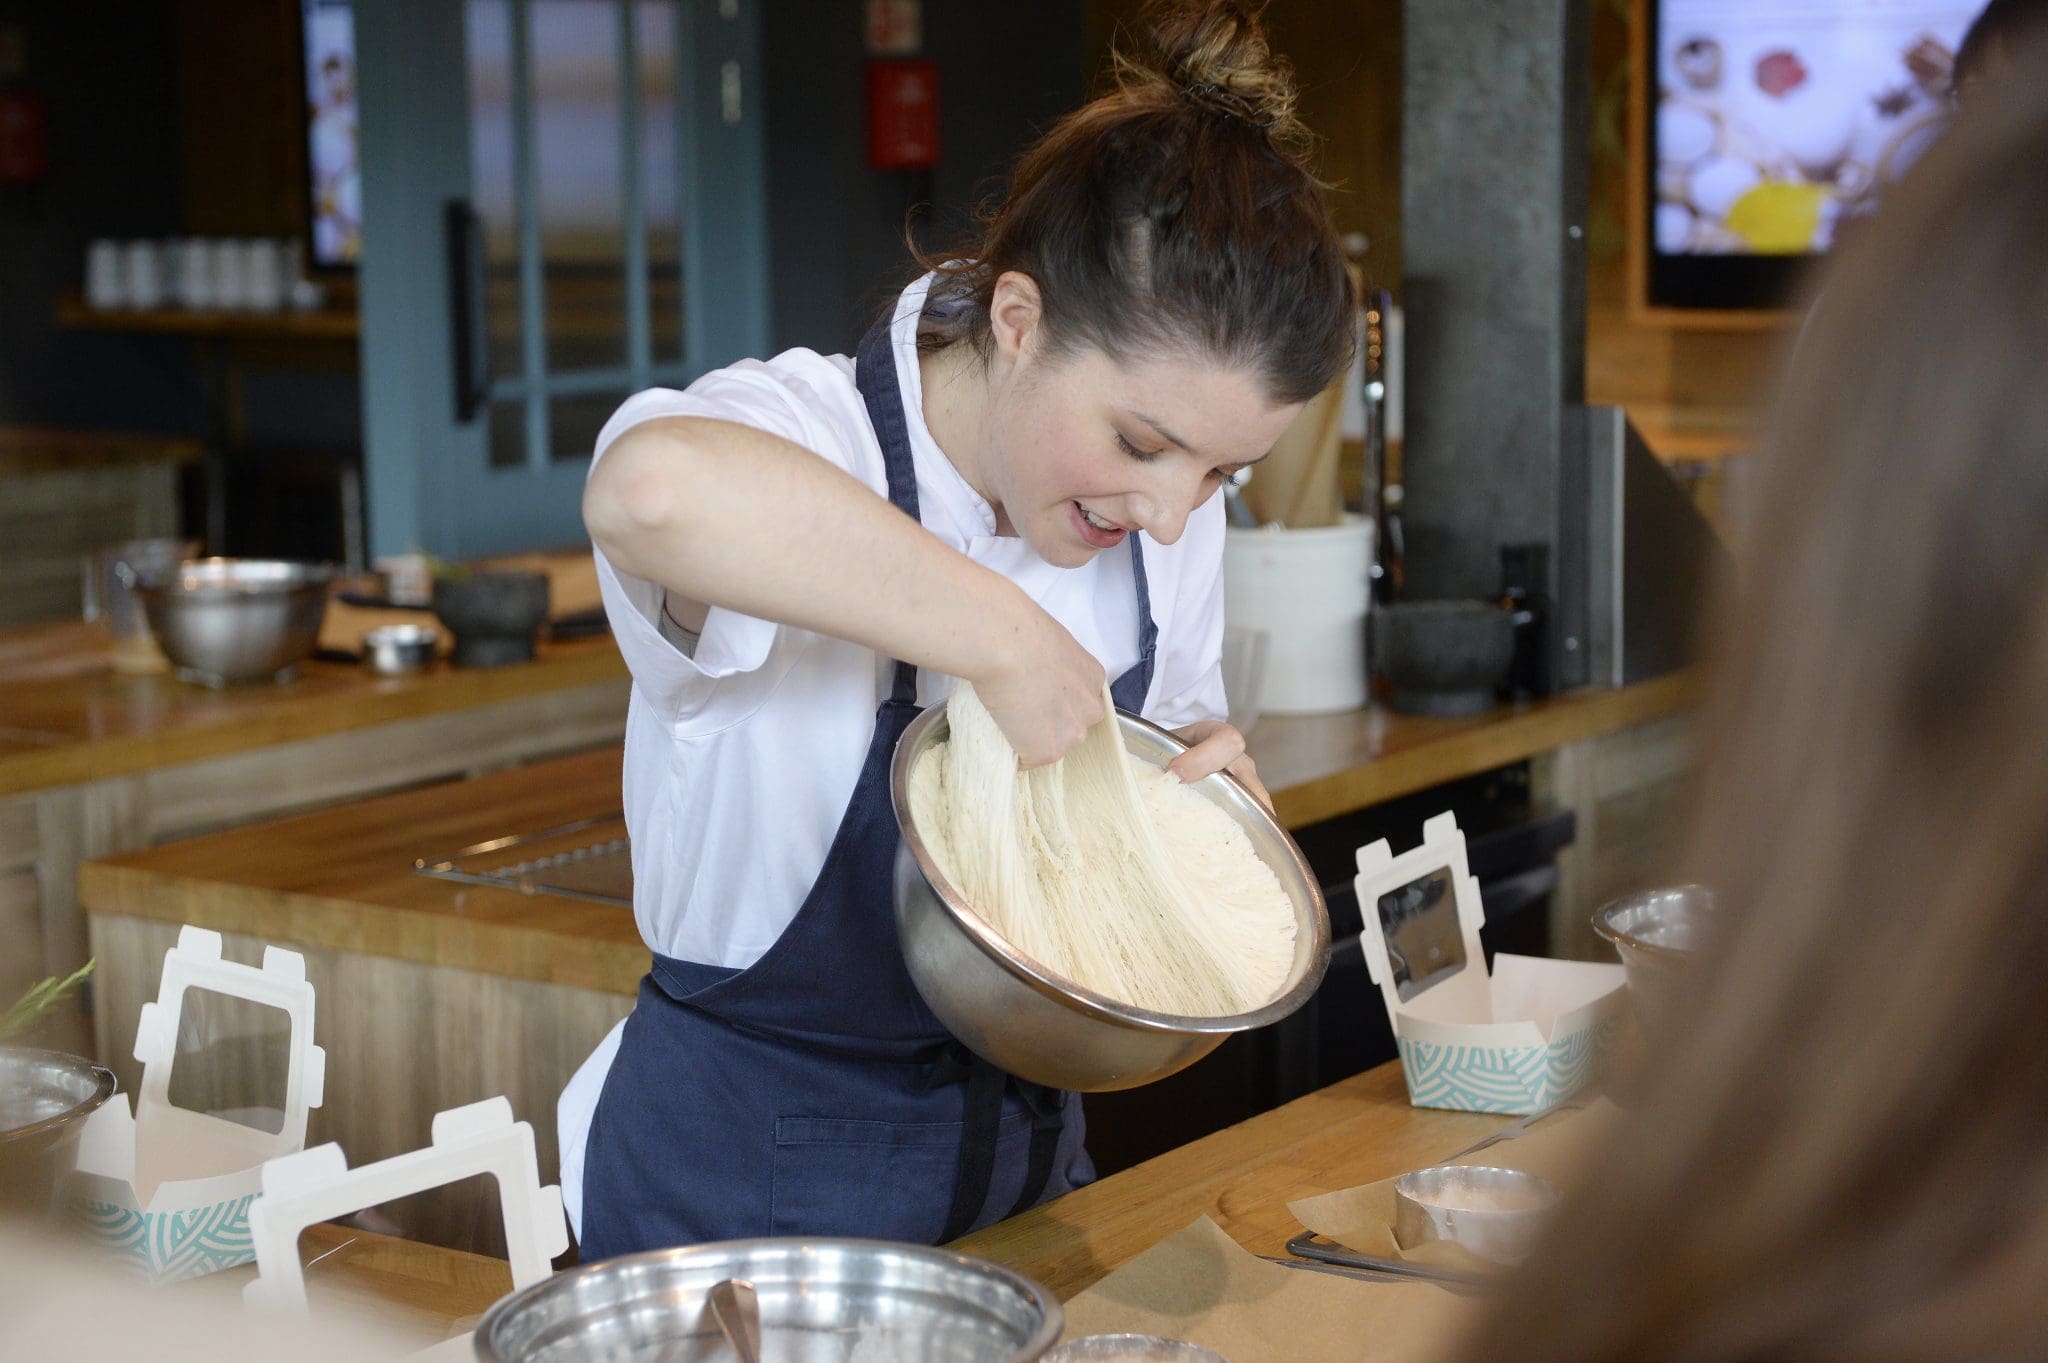
Can you see the spider's webs in the dough?[/caption]
- The proving time depends very much on the temperature of the bread’s surroundings. It may take an hour in a warm room but you can just put it in the fridge and it will prove overnight. Then you can have freshly baked bread in the morning!
- If the dough has over proved it will have touched the top of the clingfilm (or other lid) and then fallen back down. But don’t throw it away, it’s still fine for pizza dough or breadsticks!
- Knock back your dough by pummeling it with your hands. Do this for at least a minute.
- The baking time depends on the size of your rolls or loaf. When the dough is baked, it will feel hollow if you tap it underneath.
- Don’t cut into fresh bread as soon as it comes out of the oven. Leave bread rolls for at least 5 minutes before cutting into them. However tempting it may be!
Don't be afraid of making homemade bread!
Finally, I have to say, don’t be afraid of making your own bread at home. If it is under-proved, it will just be a little denser. If you haven’t knocked it back enough, it will just have a few bubbles of air inside. And, if it’s over-proved, you can make it into bread sticks or a pizza base.
Whatever happens remember this, homemade bread smells and tastes amazing, even if it isn’t perfect! Why not make some of this homemade bread to go with my baked Tunworth cheese?
Recipe for basic bread rolls
We were given a recipe for the bread rolls using fresh yeast. However, fresh yeast can be hard to find except by asking in a bakery. So, I've adapted the recipe to use fast action dried yeast which is easily available in supermarkets.
More bread recipes!
If you like these basic bread rolls then why not try one of these bread recipes:
Why not also try my pretzels recipe? You might also enjoy reading my review of the Cookery Classes at Little Portland Street where I made cheese and mushroom pasties!
Recipe
Basic White Bread Rolls
Ingredients
- 500 g strong white bread flour
- 7 g Fact action dried yeast
- 1 tsp salt
- 1 teaspoon sugar
- 310 ml lukewarm water
- 1 tablespoon seeds optional
Instructions
- Mix all the dry ingredients together. Make a well in the middle.
- Pour in half the water and stir using a fork, gradually bringing in the flour from around the sides of the bowl.
- Add the rest of the water. Continue stirring to form a dough. Add a little extra water if it is very dry.
- Flour a work surface and your hands lightly.
- Turn the dough out and start kneading it by pushing it away and folding it back.
- If the dough is too sticky add a little extra flour but not too much or it will make the bread dry. Keep kneading for about 5 minutes till the dough is smooth and elastic.
- Put the dough in a large bowl and cover with clingfilm. Leave to rise, preferably somewhere warm but not hot. The dough is ready when it has doubled in size. Depending on the surroundings this could be any time from 30 minutes to 2 hours. You can even proove overnight in the fridge.
- Preheat the oven to 220C
- Knock the dough back. Pummel it with your hands for about a minute.
- Shape the dough. Make any shape you want but make sure the rolls are even sizes so they will be ready at the same time. Put the rolls on a baking tray. I put a little flour on mine to prevent them from sticking in the oven.
- Leave the rolls to rise until the oven is heated up
- Brush the top of the rolls with a little milk or beaten egg. This helps the rolls to brown on top and look appetising. It also helps any toppings to stick.
- Optional: Add seeds to the top of the rolls.
- Bake the rolls in the oven. Depending on the size they could take any time from 7-15 minutes. When they are ready they will sound hollow if you tap them underneath.
- Put the rolls on a wire rack to cool.
Notes
Nutrition
Pin for Later!

Places I'm sharing these basic bread rolls
Cook Once Eat Twice here at Searching for Spice
Disclosure: I attended a free cookery class but all opinions are my own.


Kate - gluten free alchemist
Sounds like a fun day Corina and great-looking rolls. I wonder if they do a GF course?? x
Corina
IT was a fun day! I'm not sure if they do a gluten free class and haven't seen any on their website but they might do. x
johanna @ green gourmet giraffe
great post about bread baking - I love the spider web test - never heard it described that way but it makes sense - my sourdough bread often looks like that when I scrape it out to shape. I love bread baking and am curious about how you shaped the rolls as lately rolls have been my fun thing to do
Corina
I made the rolls into circles then cut 5 slits into the sides and pinched the ends together. Before I put them in the oven they kind of looked like flowers. I will try to edit the recipe later and add a couple of pictures of the rolls before they went in the oven.
Jo @ Jo's Kitchen Larder
What a fabulous day! I love bread so much! If there was only one thing I could eat it would have to be bread. Homemade, fresh from the oven is the best and that smell.... Your rolls look delicious, especially with a sprinkle of poppy seeds, and that focaccia, wow! It's nice to see the photo of you too and put the face to the name 🙂 x
Corina
Thanks Jo! The smell was just amazing and I definitely recommend the course too x
Kirsty Hijacked By Twins
Oh wow! Corina, I bet this was amazing! Yes, I am slightly jealous of this day. The bread rolls look perfect x #BakeoftheWeek
Corina
Thanks Kirsty! It was a great day and I felt I learned a lot too which was great. I'm also still feeling enthusiastic about trying out more bread at home x
Jacqui
Here Here Corina Baking Bread at Home is not hard and I love to see the word getting out. I love baking my own bread and was dissapointed to have missed that class as even though I bake bread regularly I still think you often pick up tips from others at this sort of event. It would have also been nice to see you again.
Happy Baking and thank you for sharing those helpful tips and linking to #CookBlogShare
Corina
I think sometimes people watch too many cooking shows and that makes them want to bake but at the same time intimidates them! Such a shame you couldn't make the class as it would have been lovely to see you again too. I will definitely be making some more bread at home soon but haven't decided what yet! x
Angela / Only Crumbs Remain
What an interesting way to while away a few hours Corina! I bet it smelt amazing in the room whilst all of that bread dough baked! Yum!
I love homemade bread, it's so much tastier than the mass produced shop bought stuff but sadly don't make it nearly often enough anymore. Love the sound of your foccacia with the gorgeous tomatoes and rosemary salt! Thank you so much for joining in with #BakingCrymbs Corina 🙂
Angela x
PS, it's lovely to be able to put a face to your name now 🙂
Angela x
Corina
Thanks Angela! I keep meaning to put a proper profile picture up but just have never got around to taking one. I'll have to make it a goal by the end of the year. The foccacia was gorgeous and I do plan to make another one at home soon as well. Such a shame that you're not able to make bread any more but I remember your no-knead bread from a few months ago sounded fantastic and I'm sure Mr E can be persuaded to help occasionally x
jenny paulin
now I know what you look like so "hello"
Your rolls look really delicious. I love making my own bread, as the results are both tasty and rewarding. I love the idea of adding poppy seeds, something I have never done before.
The cookery course sounds good, very informative aswell as teaching you new skills.
thank you for linking up to #Bakeoftheweek x
Corina
Hello! One of the things I decided I must do this year was put an actual profile picture of me on the blog but I still haven't got round to it. I will have to do it soon x
Eb Gargano | Easy Peasy Foodie
Wow - fab bread, and sounds like a lovely course. I also like the sound of the Mexican Street Food course - that sounds awesome! Eb x
Corina
Thanks Eb! One of the other bloggers on the course had already done the Mexican Street Food class and enjoyed it so much she'd bought a tortilla press afterwards - and still uses it all the time! x
Emily
I love your bread making tips, the school looks great!
Corina
Thanks Emily! I had a great day there and would love to go back and do another course.
Cat
These look so delicious - I love poppy seeds on bread x
Corina
Thanks Cat! The poppy seeds are such a simple way of making the bread look a bit rustic too x
Kat (The Baking Explorer)
Your bread looks stunning and what a fun day well spent!
Corina
Thanks Kat! I was trying to make a flower shape with the rolls I made at home. I think it needs a little more practice though!
Louise Fairweather
Ooooo I have been thinking about doing one of these classes - looks good #bakeoftheweek
Corina
I definitely recommend these classes! I feel like I learned so much and I'm still wanting to make more bread at home.
Gloria @ Homemade & Yummy
OMG...how fun would this be. I LOVE JAMIE OLIVER....and taking this course would be a dream. Too bad I live in Canada....a little far away. Now.....I love making bread, and these look delicious. I can imagine the aroma of these as they bake.
Elaine @ Dishes Delish
How fun that you went to that cookery school! What a great experience for you. These rolls look perfect and delicious!! (And yes, I see the spider webs in the dough!) Can't wait to try your recipe!
Tina Dawson | Love is in my Tummy
This must have been such a wonderful experience!! Thank you for sharing this with us!
Mahy
This looks really therapeutic!! Love bread baking and I miss having all the time in the world to bake every single day!!
Corina
Oh it is therapeutic! More people should definitely be encouraged to make their own bread every once in a while.
Kristina
oh my, what a gorgeous space to take a class! and what a great opportunity - thanks for the recipe, these look great!
Corina
Thanks Kristina! Yes, I was lucky to take the class and now I just want to have a go at some more breads when I've got the chance.